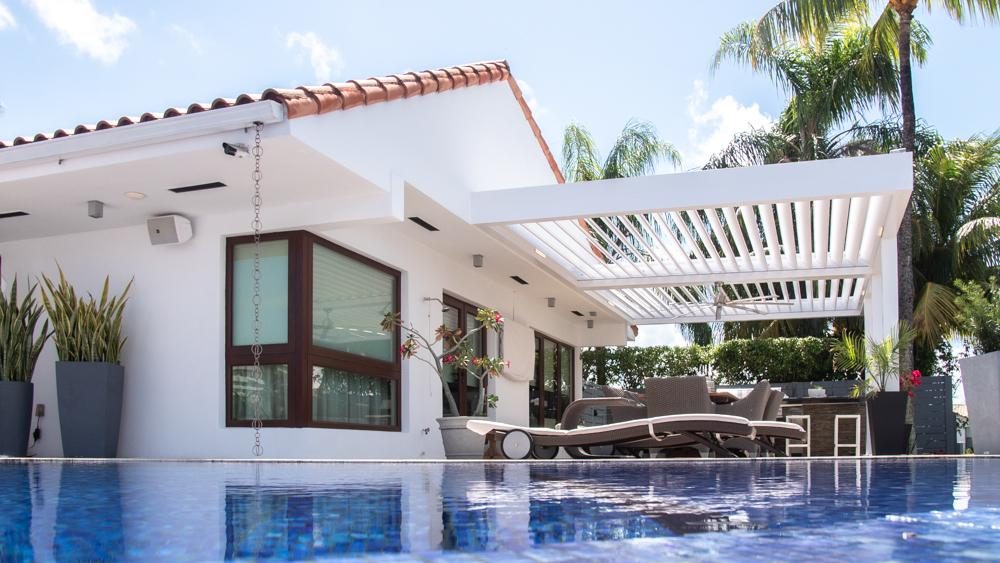
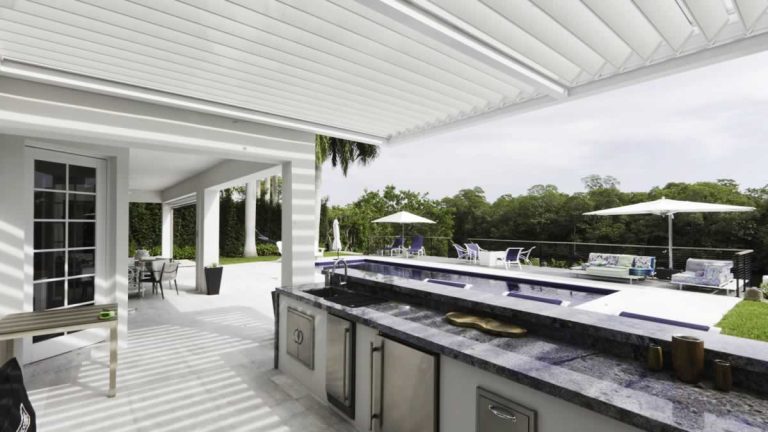
For years, the choice was either a traditional open-beam pergola (great look, zero rain protection) or a solid covered roof (permanent shade, but you lose the sky). Modern louvered aluminum pergolas make both problems go away.
The louvers rotate. Open, and it's a sunny outdoor room. Closed, and it's fully weather-tight - rain rolls off the aluminum and drains through the frame. Add a rain sensor and the roof closes on its own when the storm rolls in. Add LED lighting and ceiling fans and it becomes a room you use daily, not just when the weather cooperates.
Aluminum construction means no rot, no termites, and hurricane-rated wind performance where the building code calls for it. The extra cost over a wood pergola is usually paid back in five years of skipped stain-and-repair weekends.
Placing it for sun and breeze
In South Florida, the afternoon sun is the one that drives people indoors. Think about where it lands on your patio between about 2 and 6 p.m., and let that guide where the pergola sits and which way the louvers run.
Tilted louvers block direct sun while still letting air move through the gaps, which feels very different from a solid roof on a muggy day. Open in the morning, angled against the western sun in the afternoon, fully closed for a summer downpour. After a few weeks you will adjust them without thinking.
Built for salt and humidity
Not all aluminum is finished equally, especially near the beach or the Intracoastal. Ask about the powder-coat finish, and ask whether the fasteners and hinges are stainless steel or another corrosion-resistant material. Cheap hardware is where salt air gets in first.
Upkeep is light but not zero. Rinse the louvers with fresh water a few times a year and clear leaves and pollen from the drain channels before rainy season starts. Mild soap is all the frame needs. Also keep an eye on outdoor wiring and the motor housing for signs of moisture.
Permits and HOA approvals
A louvered pergola is a structure, and most South Florida cities and counties treat it like one. Expect a permit review, and if it attaches to your house, expect questions about wind loads. Rules differ from one municipality to the next, so confirm with your local building department instead of assuming.
If you live in an HOA, get approval before you sign anything. A complete package moves faster, so gather these items first:
- A site plan showing the pergola's location and setbacks
- Product drawings with dimensions, color, and finish
- Engineering or wind-rating documents for the model
- Photos of the planned spot
- Your electrical plan for the motor, lights, and fans
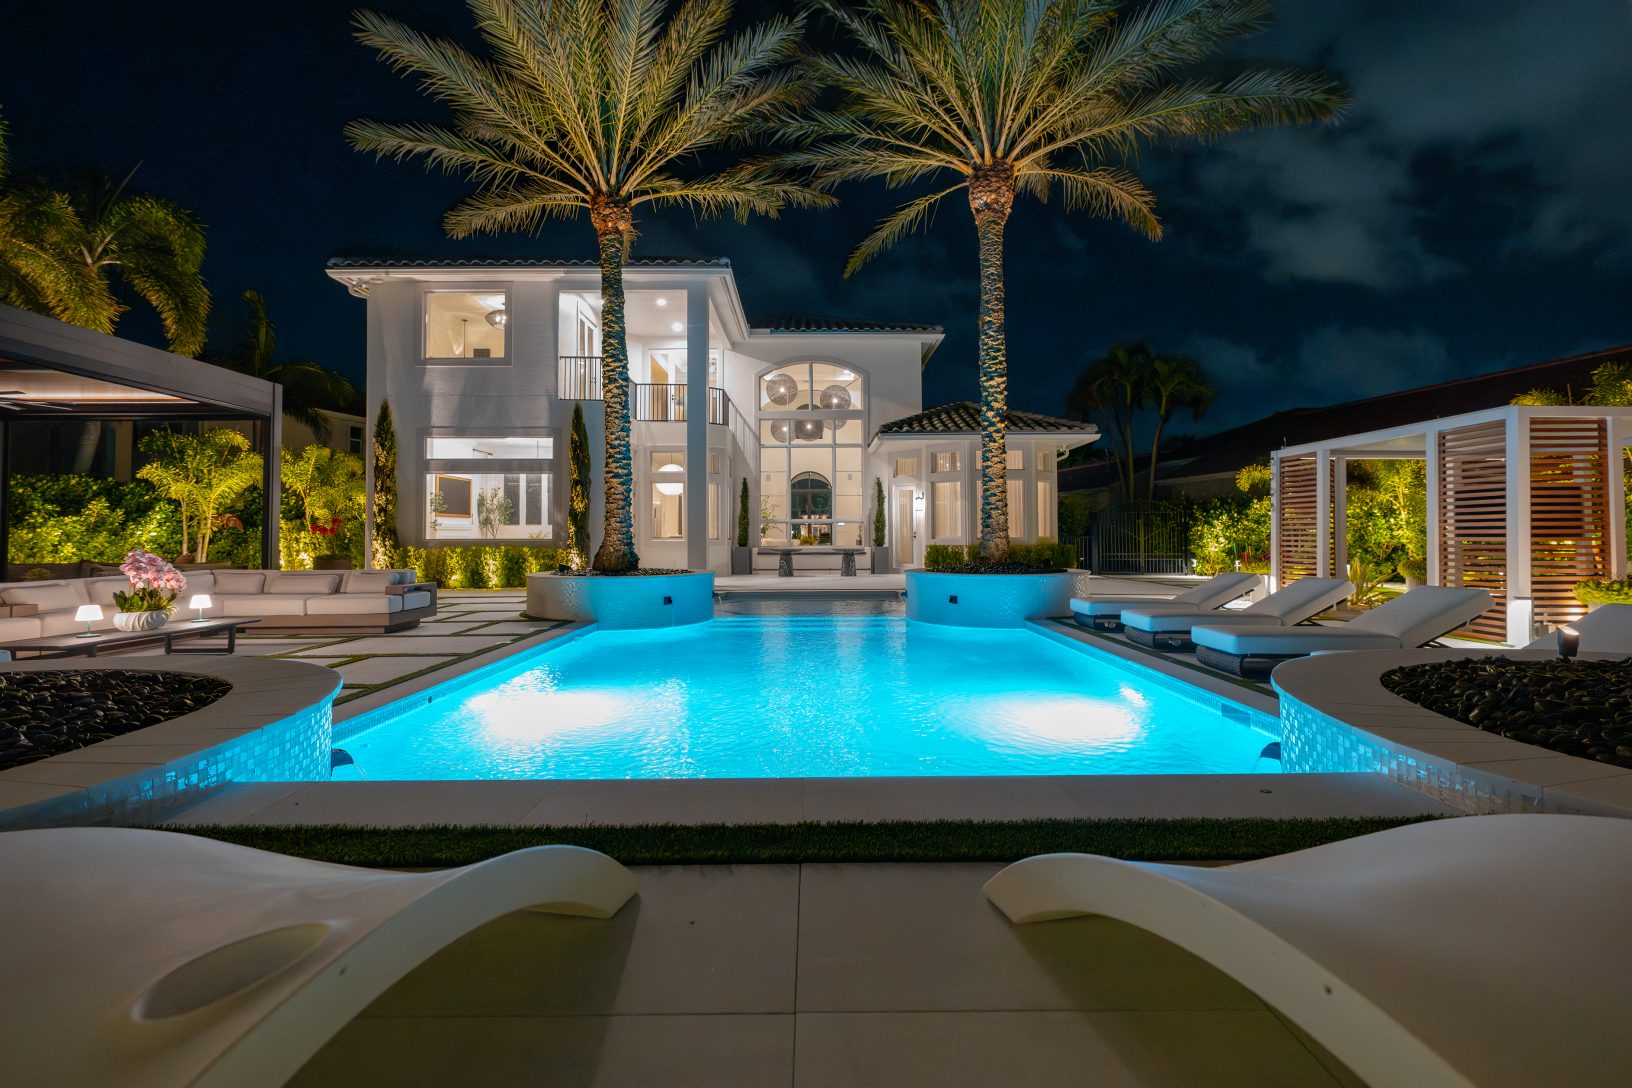
Plan the whole outdoor room
Decide early whether the pergola will attach to the house or stand on its own. Attached saves a set of posts but needs careful flashing where it meets your wall. Freestanding gives you more freedom, such as shading a lounge area beside the pool.
Think through power and drainage at the same time. Know where the electricity will come from, and where the water leaving the frame's downspouts will go so it does not pool on your pavers or run toward the house. If low sun or evening mosquitoes bother you, side screens or shades are worth discussing up front.
At Cliff's Pools & Patios, we like to work through these details with homeowners before any digging starts, so the pergola, the pool deck, and the lighting all work together.
Get a free design consultation from our South Florida team.
Every project starts with understanding how you actually use your backyard. Whether that's Sunday swims, weeknight grilling, or a putting-green escape, we size the scope to your life.